
After you create a gallery of smart images, you can use the gallery images repeatedly in your work instructions without the need to reimport the images.
-
Log into FactoryLogix Office and open a process definition.
-
Double-click an operation to open it for editing.
-
Double-click the step or activity you want to add a smart image to.
-
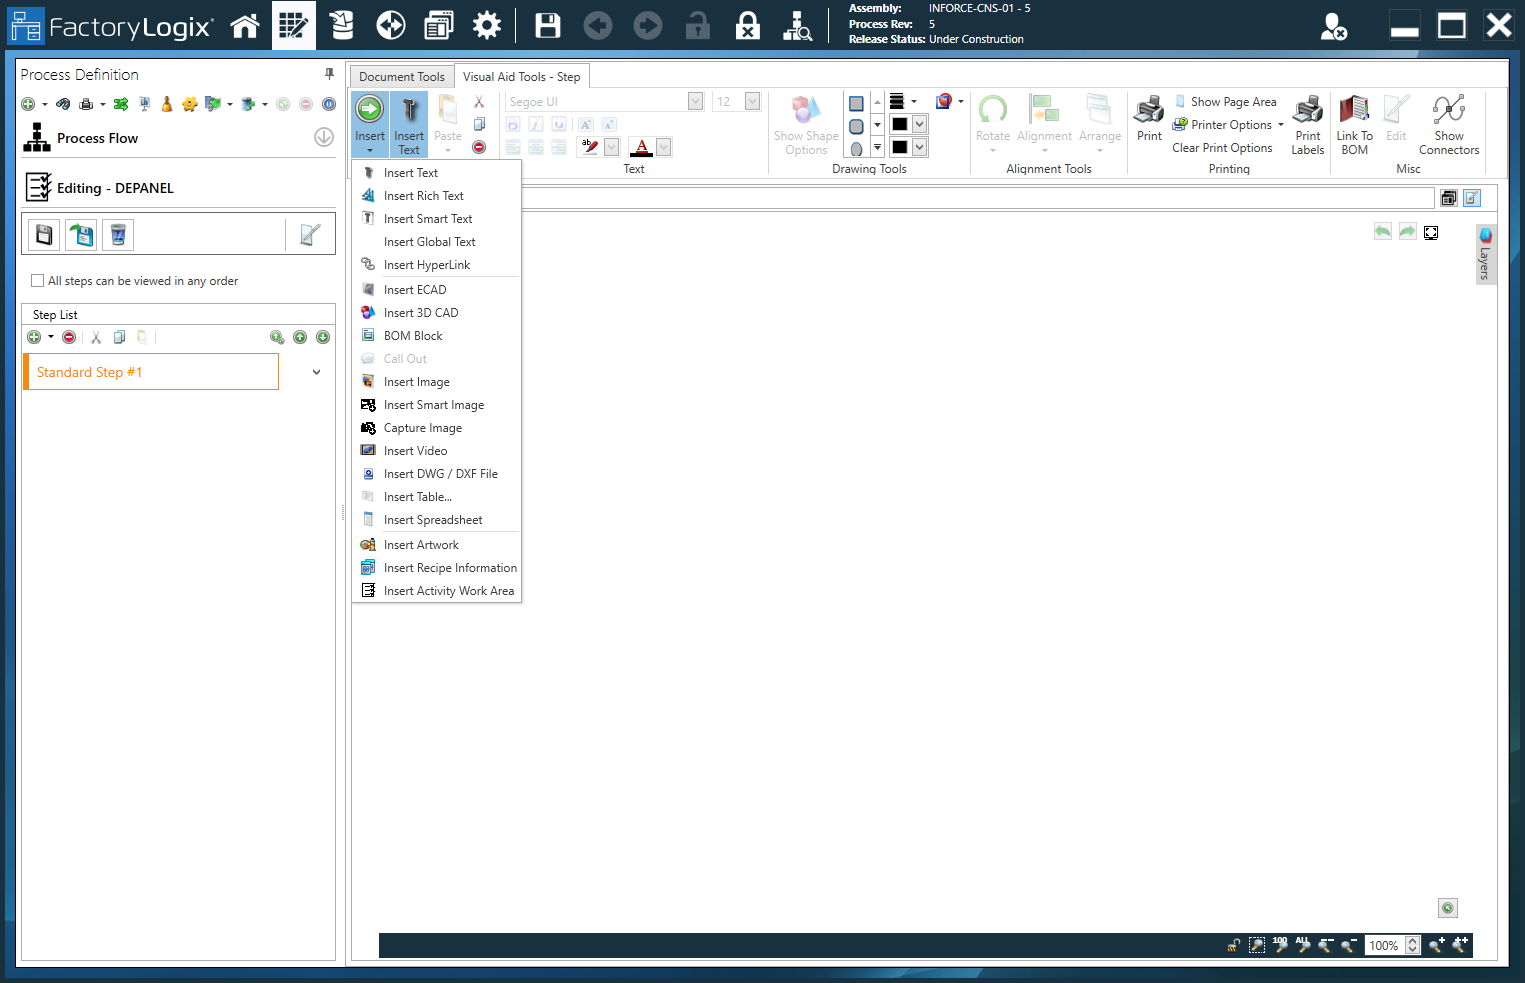
On the Visual Aid Tools tab, select Insert > Insert Smart Image.
-
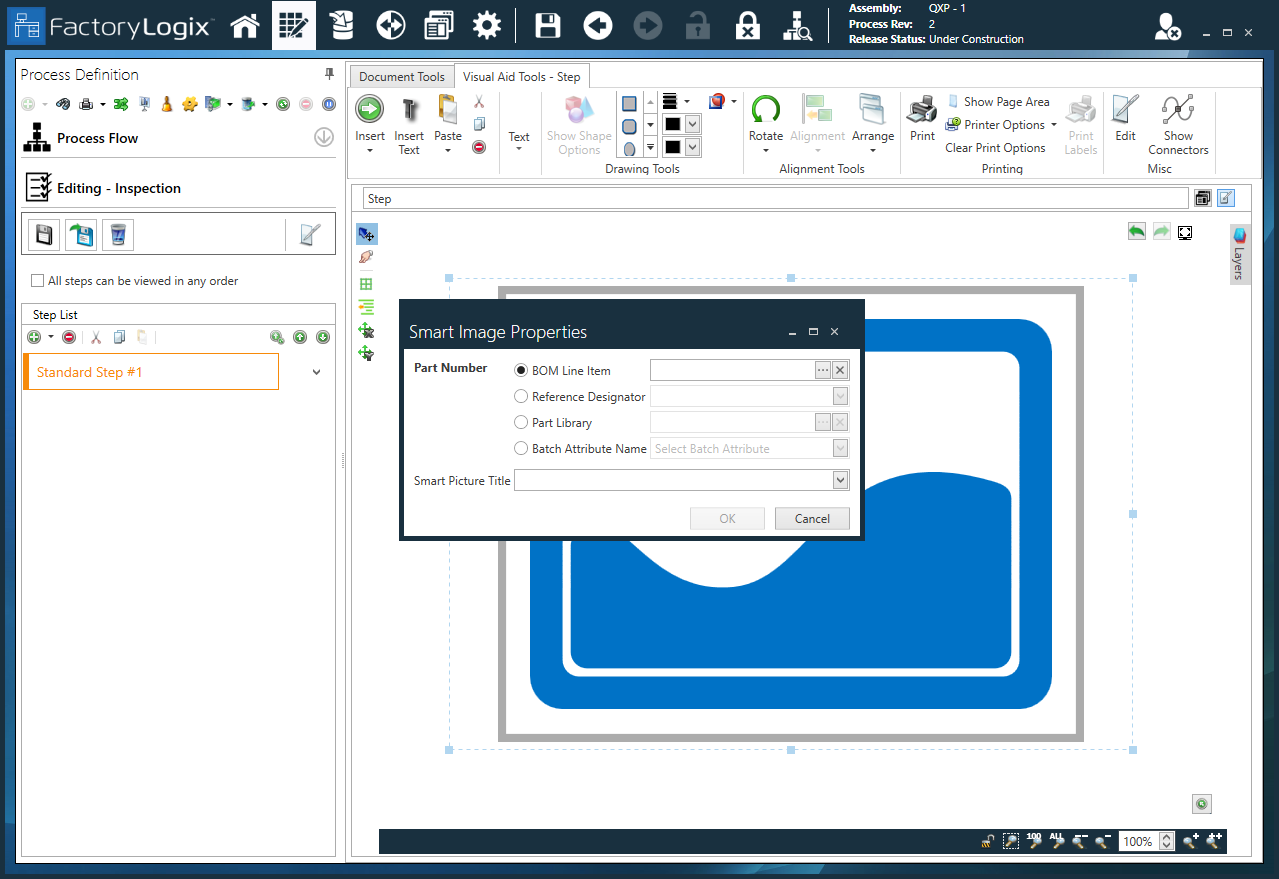
Drag a rectangle on the canvas.
-
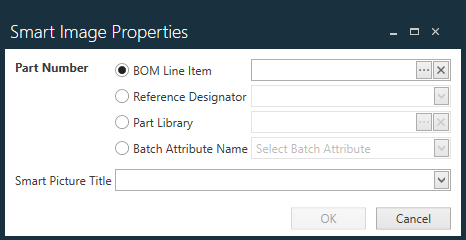
Use the options in the Smart Image Properties dialog to locate the smart image you want to use for a work instruction:
-
BOM Line Item - Displays the BOM for the process definition. Select the ellipses (...), locate and select the desired BOM line item, then select OK.
%20Line%20Items%20dialog.png?cb=dc1602ab217bd9cf4a69818bde064bfc)
-
Reference Designator - Use the drop-down to select the desired reference designator, then select OK.
-
Part Library - Displays the Part Library window. Select the ellipses (...), locate and select the desired part number, then select OK.
-
Batch Attribute Name - Select the desired batch attribute from the drop-down, then select OK. (In this case, the batch attribute is treated like a part number.)
After you make a selection for a smart image, you are returned to the Smart Image Properties dialog.
-
Important
Batch attribute names and values used for smart images cannot contain hyphens.
-
Use the Smart Picture Title drop-down to select the desired smart image title, then select OK.
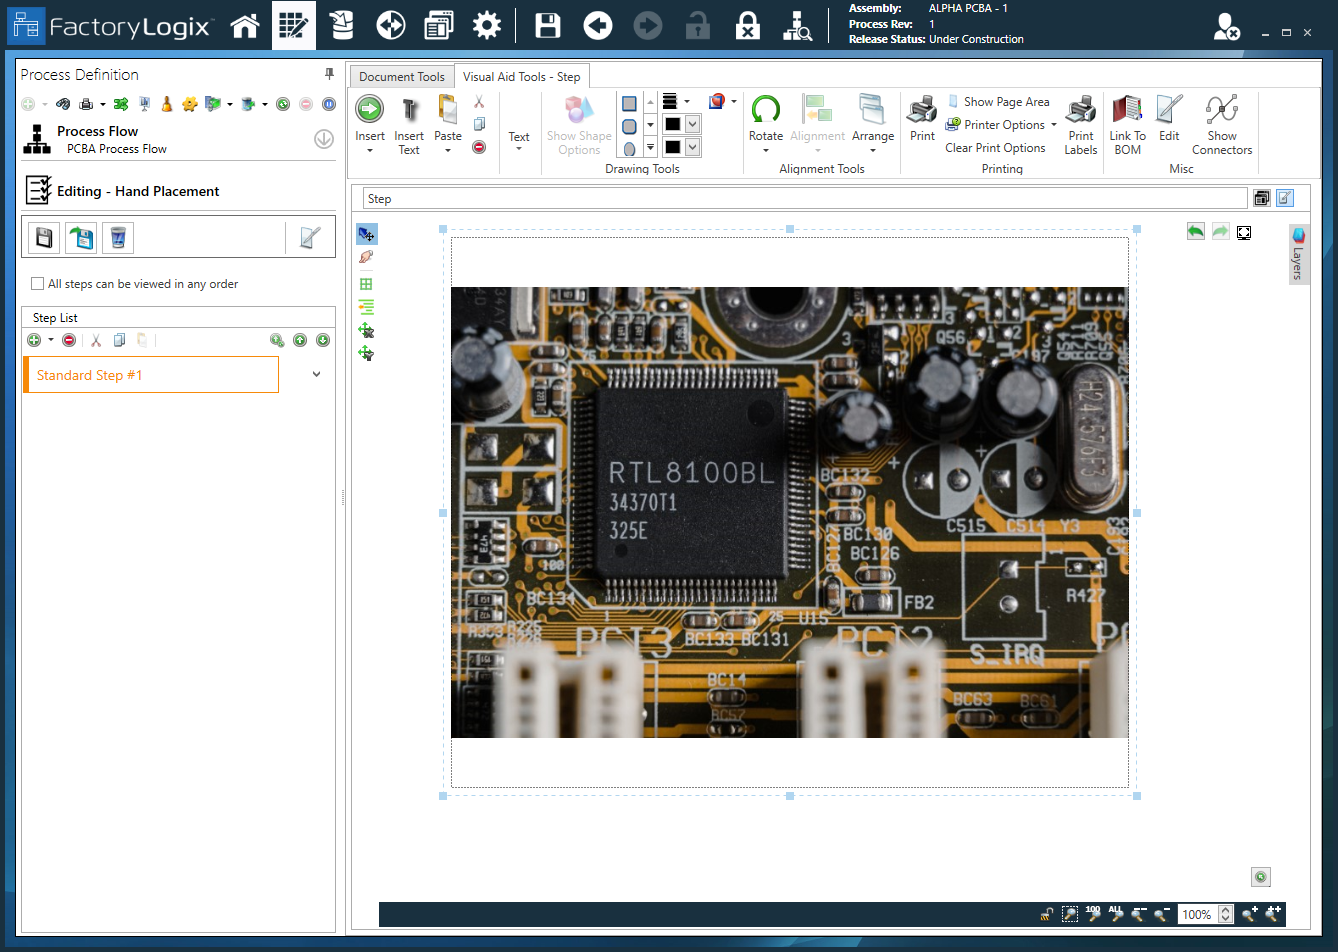
The smart image is displayed in the Visual Aid Tools window. If a smart image doesn't exist for your selection, you will see an image placeholder with the words No Image Found:
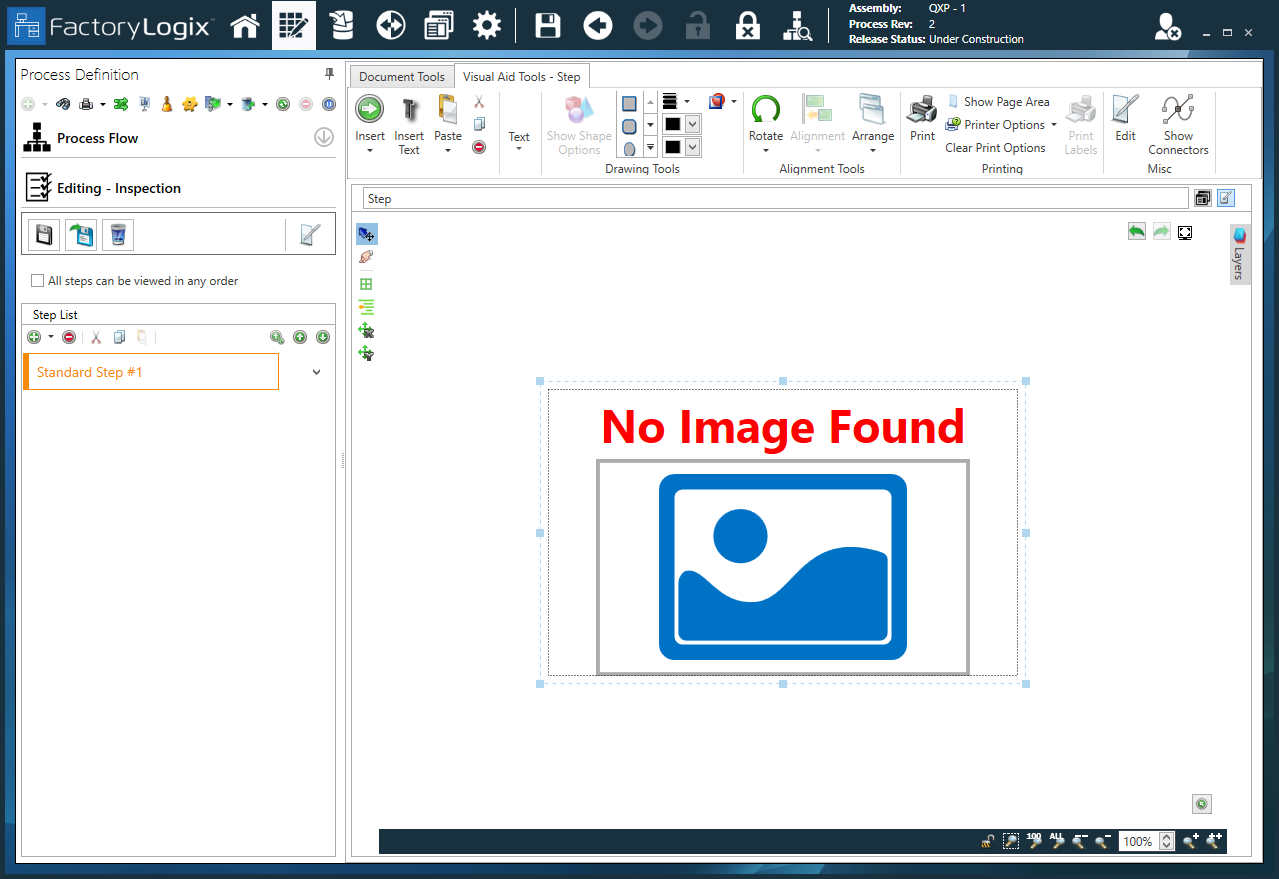
-
To make a different selection when no image is found, right-click the smart image placeholder, make a new selection in the Smart Image Properties dialog, select an image title from the Smart Picture Title drop-down, then select OK.
-
(Optional) Repeat this procedure to add more smart images to your active work instructions.